3D Art
Reductive Plaster Project
"I choose a block of marble and chop off whatever I don't need." - Auguste Rodin
"We do not want to copy nature. We do not want to reproduce, we want to produce. We want to produce like a plant that produces a fruit and not to reproduce. We want to produce directly and not through representation." - Jean (Hans) Arp
Theory

Reductive sculpture is one of the oldest forms of object–making known to us. Our early, nomadic ancestors created small, portable "Venus figures" by hitting a hard stone against a softer stone until a humanoid figure emerged. Although we don't know much about the purpose of these female–like forms, some scholars argue that the enlarged hips, breasts and belly suggest an intended use as a totem, perhaps to ensure the fertility of reproducing couples within a tribe.
Project Description
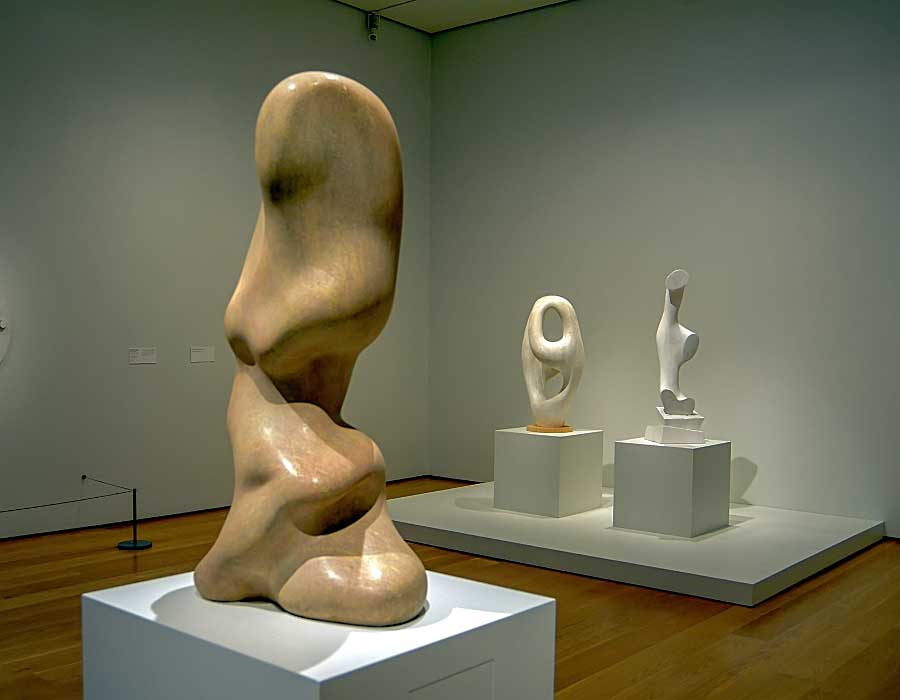
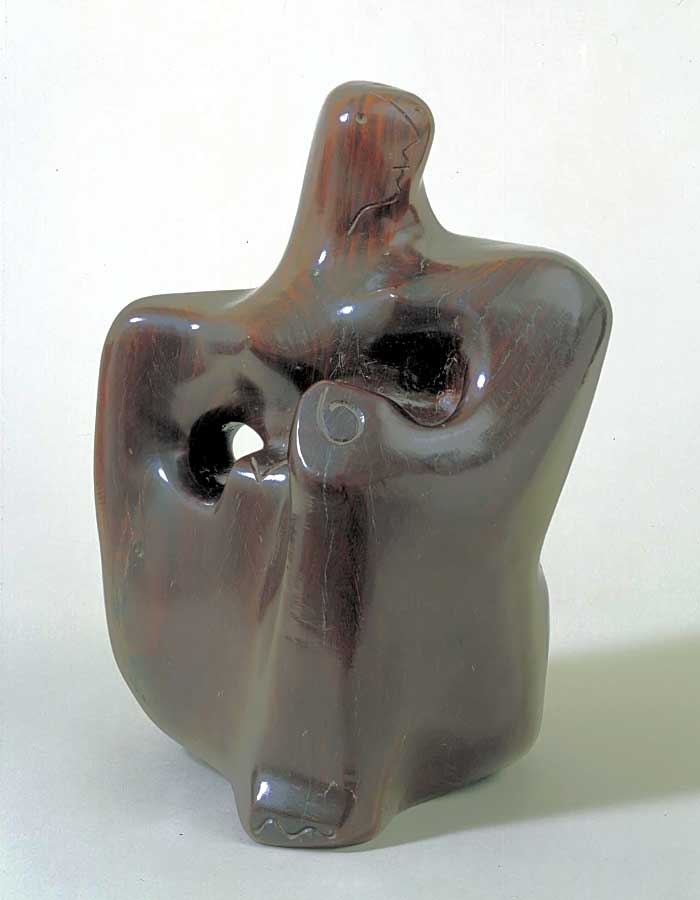
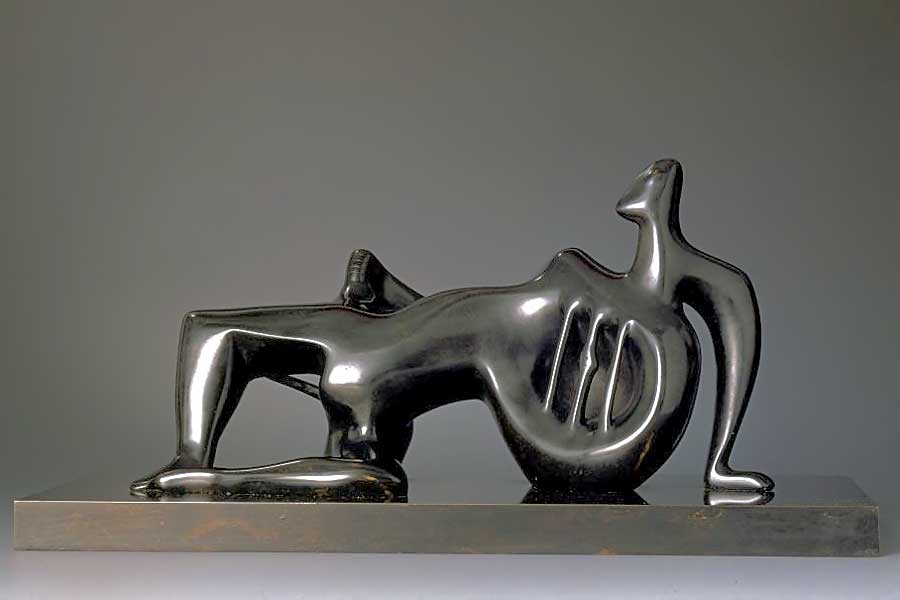
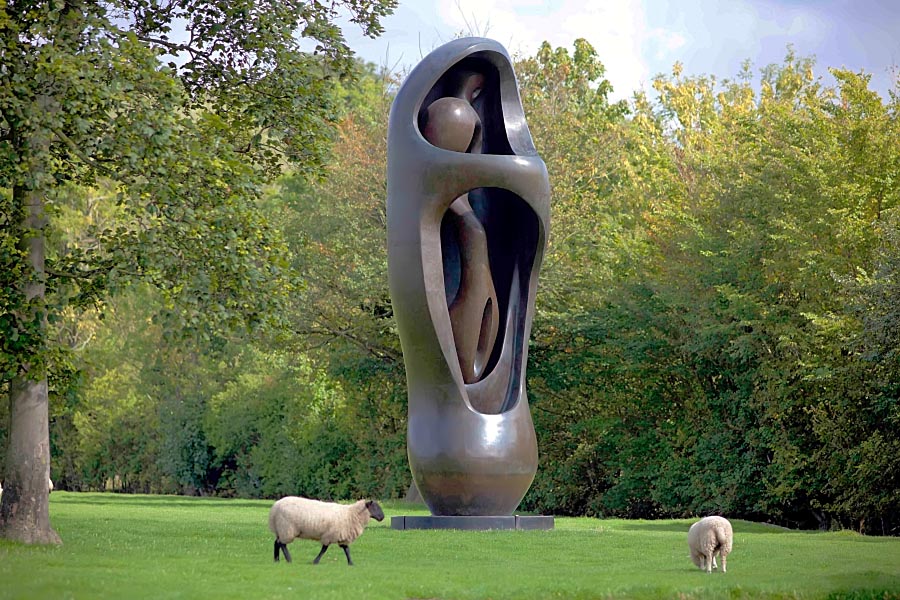
OBJECTIVE: Use reductive processes to carve a smallish sculpture out of a block of plaster. In the spirit of our totem-making ancestors, your sculpture should represent an animal, a thing, an idea or a person. You must, however abstract the form to a sufficient degree (i.e., a lot) so as to resemble the modernist sculptures of Henry Moore, Barbara Hepworth, Jean Arp and Constantin Brancusi. Click here to learn more about the process of abstraction.
PROCEDURE: Mix and pour plaster into a cardboard box that's lined with plastic, thereby casting a block of plaster that measures approximately 9 x 9 x 9 inches. When your block has set (after about an hour it will be solid, but very fragile for several days until the water mostly evaporates), use a maul and a beetle or mallet with gouges, chisels, riflers, sure–forms and sandpaper to remove material until a form emerges.
MATERIALS & TOOLS: Approximately 10 pounds of pottery plaster (available through the departmental Supplies Store); a strong cardboard box that measures at least 9 x 9 x 9 inches; a large garbage bag; two large mixing pails; water; a maul and a beetle or a mallet, assorted gouges, riflers, sure–forms, chisels, files and sandpaper; acrylic paint and painting tools.
FINISHING: The plaster can be painted as soon as the carving is done and the surface is sanded to a desired smoothness. Unlike the Automated Sculpture Project (which uses a base made of wood), your sculpture's base will be carved from the main mass of the plaster (i.e., the base and the sculpture will be a unitary object).
NOTE: Care must be taken to ensure that your plaster is completely dust–free before you start painting. Use a clean, damp rag to remove any dust.
Your finished work must exhibit a comprehensive understanding of the compositional principles of Emphasis, Variety, Movement, Balance, Unity, Rhythm, Scale and Proportion. Your work will also show that you have attended to the details of creating a well–finished carving, with a painted / finished surface that is clean and stable.
Examples of Student Work
.jpg)
.jpg)
.jpg)
.jpg)
.jpg)
.jpg)
.jpg)
.jpg)
.jpg)
.jpg)
.jpg)
.jpg)
.jpg)
.jpg)
.jpg)
.jpg)
.jpg)
.jpg)
.jpg)
.jpg)
.jpg)
.jpg)
.jpg)
.jpg)
.jpg)
.jpg)
.jpg)
.jpg)
.jpg)
.jpg)
.jpg)
.jpg)
.jpg)
.jpg)
.jpg)
.jpg)
.jpg)
.jpg)
.jpg)
.jpg)
.jpg)
.jpg)
.jpg)
.jpg)
.jpg)